As a reputable driving school committed to fostering responsible driving habits, we understand the significance of equipping teen drivers with essential car maintenance skills. One often overlooked skill is checking the oil in a car. In this article, we will guide teen drivers through the process of checking their car’s oil, empowering them to take an active role in maintaining their vehicles.
Understanding the Significance of Checking Oil in a Car:
If you didn’t already know that oil is the life’s blood of your car’s engine, you do now. By regularly checking the oil, drivers can ensure their engines run smoothly, prevent potential mechanical issues, and promote overall vehicle longevity. Checking the oil in your car is one of the many aspects of becoming a responsible driver.
First, oil provides vital engine lubrication, reduces friction and prevents excessive wear and tear on engine components. Second, it helps in dissipating heat generated by the engine, keeping it properly cooled. Third, regular oil checks can help prevent engine damage by ensuring sufficient lubrication and detecting any contamination or low oil levels. Additionally, checking the oil allows for the early detection of oil leaks, preventing further damage and maintaining proper lubrication. Lastly, properly maintained oil contributes to better fuel efficiency, optimizing engine performance and reducing fuel costs. By regularly checking the oil, drivers can ensure their engines run smoothly, prevent potential issues, and promote overall vehicle longevity.
Step-by-Step Guide to Checking the Oil:
To ensure teen drivers are equipped with the knowledge they need, follow this simple step-by-step guide for checking the oil:
Step 1: Preparing the car for an oil check.
Before starting, make sure the car is parked on level ground and the engine is turned off and cooled down.
Step 2: Locating the dipstick and understanding its markings:
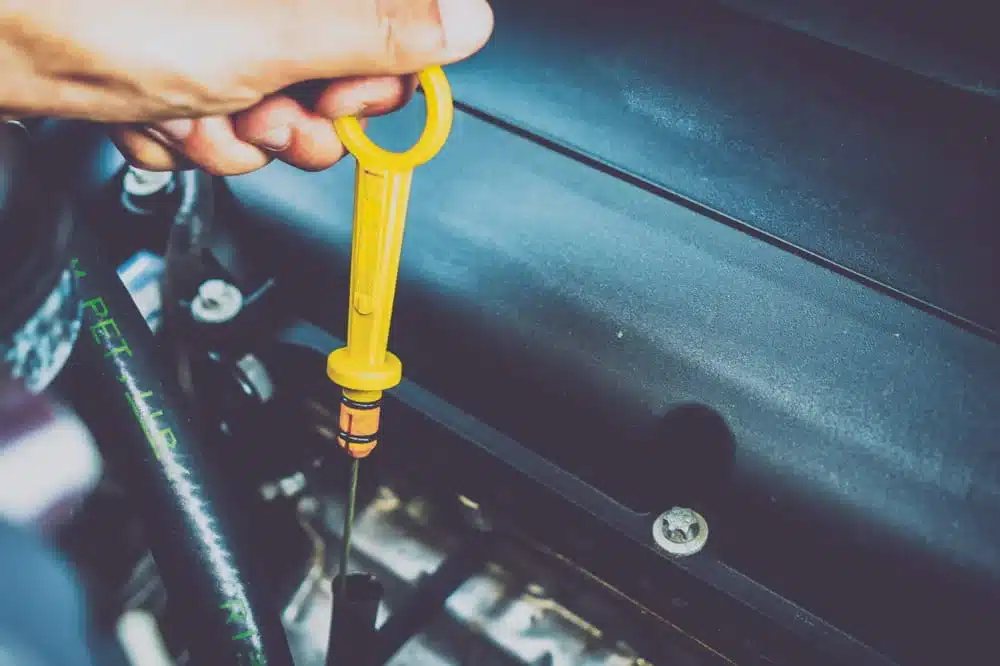
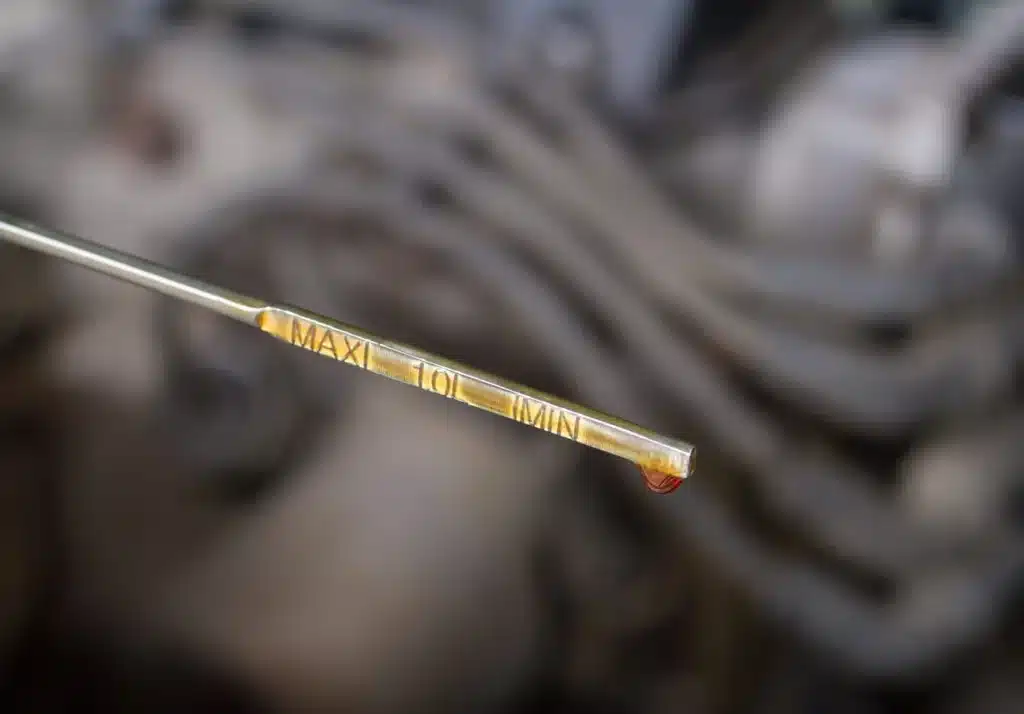
The dipstick is usually located near the engine. Familiarize yourself with its appearance and markings, which indicate the minimum and maximum oil levels.

Step 3: Pulling out the dipstick, wiping it clean, and reinserting it
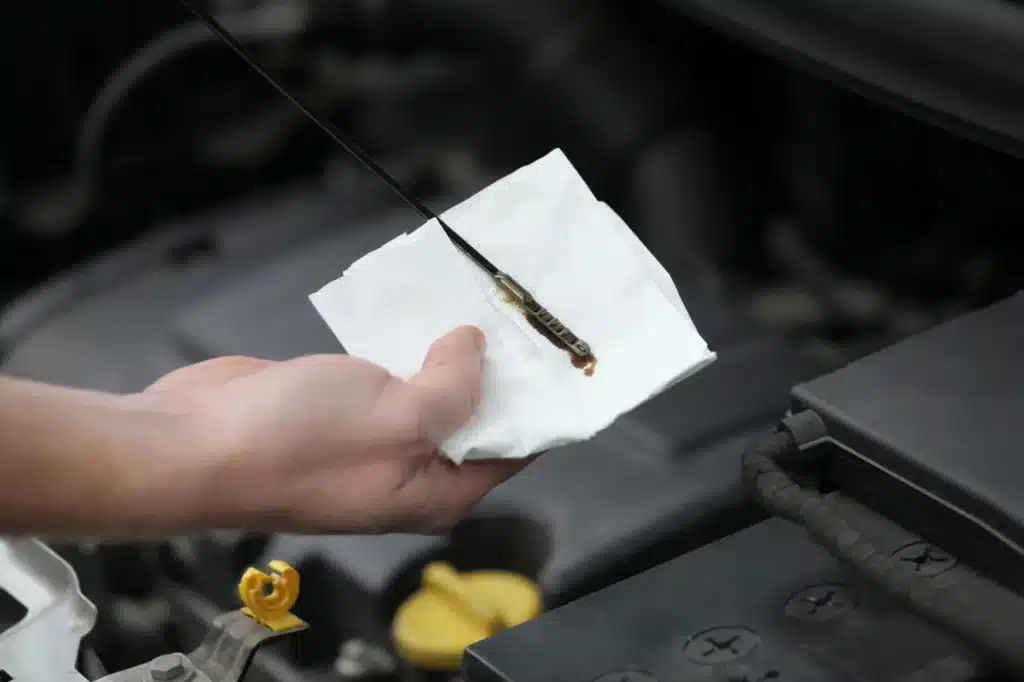
Now it’s time to check the oil level in your car’s engine. To do this, firmly grip the dipstick handle and carefully pull it out of the dipstick tube. Take a clean cloth or paper towel and wipe the entire length of the dipstick to remove any oil residue or debris. This step ensures that you start with a clean dipstick for an accurate measurement. Once the dipstick is clean, carefully reinsert it back into the dipstick tube, making sure it goes all the way in. By pulling out the dipstick, wiping it clean, and reinserting it, you ensure an accurate reading of the oil level. This prevents any residual oil from a previous reading from interfering with the current measurement, providing you with a reliable assessment of the oil level in your car’s engine.

Step 4: Accurately reading the oil level on the dipstick:
Carefully remove the dipstick again and observe the oil level. It should fall within the designated range on the dipstick.
Step 5: Determining if the oil level is adequate or requires a refill:
Compare the oil level on the dipstick to the markings. If it falls below the minimum level, it’s time to add more oil. Consult your vehicle’s manual to determine the correct type and amount of oil required.
Importance of Regular Oil Changes
Regular oil changes play a critical role in maintaining the proper functioning and longevity of your vehicle’s engine. A significant reason why oil is important is for engine lubrication. Oil lubricates the moving parts within the engine, reducing friction and minimizing wear and tear. However, over time, oil breaks down and becomes less effective at providing adequate lubrication. By adhering to regular oil change intervals, you ensure that your engine is always supplied with clean, fresh oil, reducing the risk of friction-related damage.
In addition to lubrication, oil changes also helps with heat dissipation. As the engine operates, it generates heat, and oil aids in dissipating this heat. However, as oil ages, its ability to absorb and dissipate heat diminishes. Regular oil changes ensure that your engine is equipped with fresh oil, which has superior thermal properties, helping to regulate the engine’s temperature and prevent overheating.
Oil-related Tips Where Parents Can Assist Their Teen Drivers
In addition to checking the oil level, there are a few additional tips to impart to teen drivers:
Learning how to identify signs of low or dirty oil
Teach them to look out for warning signs such as a low oil pressure light or unusual engine noises.
Understanding oil viscosity and using the correct oil type
Explain the concept of oil viscosity (thickness) and stress the importance of using the oil recommended by the vehicle manufacturer.
How to safely add oil if needed
Demonstrate how to safely add oil when the level is low, ensuring they understand the proper procedure.
Promoting Responsible Car Maintenance Habits
At Driven2Drive Driving School in PA, we aim to instill responsible car ownership and maintenance habits in our teen drivers. Here are a few additional tips to encourage:
- Emphasize the importance of routine maintenance beyond oil checks: Regular servicing, tire rotations, and brake inspections are equally important for a safe and well-maintained vehicle.
- Keeping a car maintenance schedule: Encourage teen drivers to maintain a schedule, noting important maintenance tasks and due dates.
- Highlighting the benefits of preventive maintenance: Explain how proactive maintenance not only ensures safety but also saves money by preventing costly repairs down the road.
Book a driving lesson package with Driven2Drive to not only enhance your driving skills but also to learn more about taking care of your vehicle. Our experienced instructors not only focus on teaching safe driving techniques during your driving lessons but also provide valuable insights on car maintenance and responsible ownership.
Conclusion:
By teaching teen drivers how to check the oil in their cars, we empower them to take charge of their vehicle’s maintenance. Regular oil checks and proper oil changes will contribute to a safer, more reliable driving experience. As responsible driving educators, let’s equip our teen drivers with the skills they need to become confident and knowledgeable
Related Resources
- Should I Check My Oil When The Engine Is Hot Or Cold?
- Safest Cars for New Teenage Drivers
- Importance of Adding Your Teen to Your Car Insurance
FAQs
How often should I change the oil in my car?
Oil change intervals vary depending on the vehicle make, model, and the type of oil used. Generally, it is recommended to change the oil every 5,000 to 7,500 miles or as advised in your vehicle’s manual. Regular oil changes are essential for maintaining engine health
What are the consequences of driving with low oil?
Driving with a critically low oil level can lead to increased friction, overheating, and potential engine damage. Insufficient lubrication can cause excessive wear and tear on engine components, reducing their lifespan and potentially resulting in costly repairs.
How can I prevent oil leaks in my car?
Regularly checking the oil level and ensuring proper oil cap sealing can help prevent oil leaks. Additionally, staying up to date with routine maintenance, such as replacing gaskets and seals when needed, can minimize the risk of oil leaks.
Should I check the oil with the engine running or off?
It is recommended to check the oil with the engine off. This allows the oil to settle in the oil pan, providing a more accurate reading. However, ensure the engine is warm, as checking the oil when the engine is cold may not reflect the actual oil level.
Where can I find more car maintenance tips and resources?
Visit the Driven2Drive blog for a wide range of informative articles on car maintenance, driving tips, and responsible car ownership. Our blog is a valuable resource to enhance your knowledge and keep your vehicle in excellent condition.

Ronit Tehrani is the Founder and Co-Owner of Driven2Drive, a premier driving and license testing center in Philadelphia. Since 2013, she has been dedicated to providing safe driving education and skills for lifelong success. Under her leadership, Driven2Drive became Pennsylvania’s first privately owned PennDOT-certified testing center, now with six locations.
